Showing posts with label PosyDoodles Basic Tag die. Show all posts

Friday, 12 March 2021

Polkadoodle Challenge - Pastel Easter

It's time for a new Polkadoodle challenge and this week the theme is

Anything Goes

The DT were challenged to make an Easter card in pastel tones.  I had a look through my stash and found that the little Bunny in the Great Outdoors / Critters bundle was perfect to stamp on a card to send to my three nieces for Easter!  I've used Promarkers to colour plus I found a little packet of flower soft in my stash and added some fine glitter to it for their cute little tails.  The sentiment has been handwritten onto a Posydoodles Basics Tag die, cut from an offcut of card.

Good luck with the challenge!


Friday, 26 February 2021

Polkadoodle Challenge - Easter Interactive

It's time for a new Polkadoodle challenge and this week the theme is

Anything Goes

The DT were challenged to an Easter project so here is mine using a slimline card that is thinner than a DL (I bought some bargain envelopes a few years ago so need to use them up!) using scraps of card.  The image has been coloured with Promarkers - Too Cute Bee Heart Basket digi and I've used the Flower Trellis stencil and I found some really old inkpads in my stash but they were not in the least bit dried up!  I've handwritten the sentiment onto the banner from the Posydoodles Tags die set cut from a scrap of card - and to make the bee wobble, I've recycled a piece of acetate from a shirt collar packaging.


Good luck with the challenge!


Friday, 11 September 2020

Polkadoodles Challenge - Anything Goes or Christmas

It's time for a new Polkdoodles challenge and the theme is

Anything Goes

The DT were challenged to  a Christmas theme.  I've used the fab Gnome-men Snow Ho Ho clear acrylic stamps and used Promarkers to colour.  To keep it all nice and simple and with a clean look, I cut the image and then layered it using the Posydoodles Basics Square dies and a tag from Posydoodles Basics Tags die.  The wooden red star I've had in my stash for probably a decade and too the bakers twine!  Lightly embossed a line around the edge of the card and its done!


Good luck with the challenge!

Friday, 28 August 2020

Polkadoodles Challenge - Shaped Card

It's time for a new Polkdoodles challenge and the theme is


Anything Goes

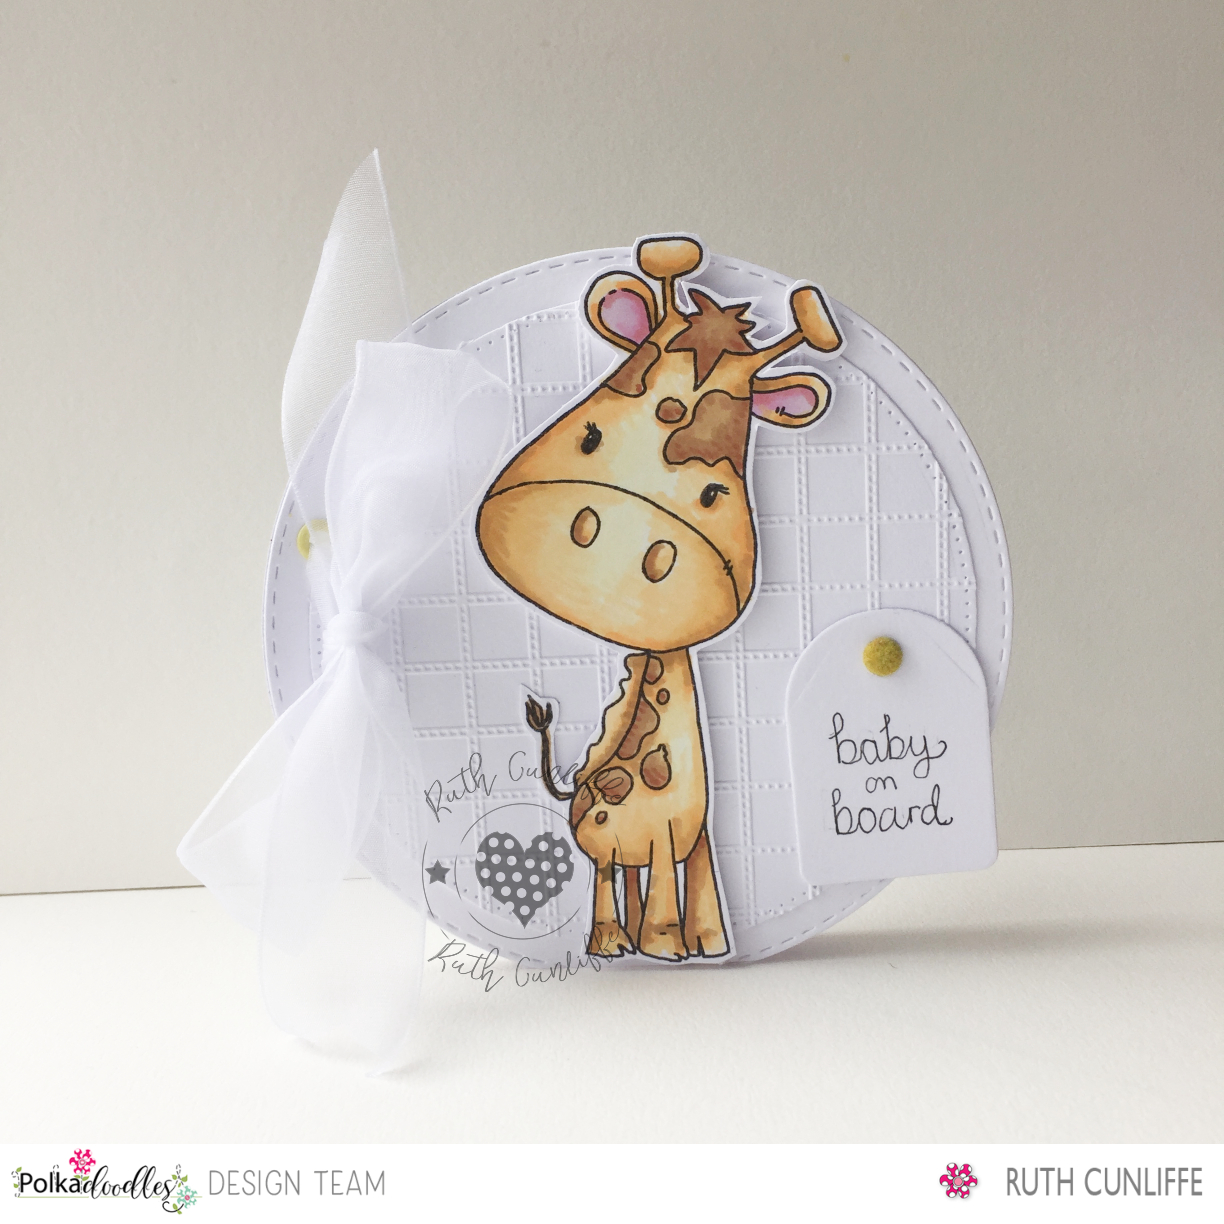
The DT were challenged to make a shaped card so I've gone with this rather cute baby on board card, using Having A Giraffe Clear Stamp, coloured with Promarkers.  I've made the card base using the largest Posydoodles Basics Circle die and then layered a small die cut on top after it had been embossed with the Stampin' Unicorn Quilted Picnic Embossing folder and to finish I hand wrote the sentiment on the Posydoodles Basics Tag die cut.


Furry brad and organza ribbon from my stash.  Rather amazed I managed to cut a flat edge to the actual bottom of the card!  Good luck with the challenge!

Friday, 14 August 2020

Polkadoodles Challenge - Summer Fun and a Tag

It's time for a new Polkdoodles challenge and the theme is


Anything Goes

The DT were challenged to the theme of Summer Fun and to add a tag (it was also to use citrus colours but I accidentally missed that part!)  I've used the cute Winnie Float Away digi, coloured her with Promarkers.  I cut a tag from a scrap of card blank using the Posydoodles Basics Tag die and the sentiment is from the Sentimentals 6x6 paper pack and cut with the banner die from the Basics Tag die set - I turned the sentiment round so I could cut both edges the same.


I've doodled a border around the edge of the image and also the card blank, added the tag and sentiment with some bakers twine I found in my stash and used up some of the many half pearls I seem to have collected!

Good luck with the challenge!

Friday, 31 July 2020

Polkadoodle Challenge - Black and White plus a Colour

It's time for a new Polkdoodles challenge and the theme is


Anything Goes

The DT were challenged to use black and white plus a pop of coloured paper.  So I've kept mine really clean and simple (nearly forgot to add the pop of colour!)  I've used the Flower Flourish die set layered on top of the Posydoodles tag die and that has, in turn, been layered onto a Posydoodles Circles die.  The sentiment (Sentimentals 6x6 paper pack) has been cut using the tag die set too and the bow has been made using scraps from the Vintage Candy 6x6 paper pad.  Some half pearls from my stash, and I'm done!


Good luck with the challenge!

Friday, 3 July 2020

Polkadoodles Challenge - Something Cute

It's time for a new Polkdoodles challenge and the theme is

Anything Goes

The DT were challenged to make something cute with a sentiment and I always need cute cards so used Tons of Wishes elephant and coloured her with Promarkers - the sentiment comes with the stamp and teamed it with papers from Vintage Candy 6x6 pack - the half pearls are to hide the paper joins as I just used strips underneath the main piece!  


Vellum circle has been cut with a Posydoodles Basics Circle die and the sentiment with one of the Posydoodles Basics Tag die.  And I knew that elephant charm I've had in my stash for years would come in handy one day!!  Embroidery thread also from my stash.

Good luck with the challenge!

Friday, 28 February 2020

Polkadoodles Challenge - Spring Flowers

It's time for a new Polkadoodles challenge and the theme as always is

Anything Goes

The DT were challenged to make a Mother's Day card with Spring Flowers.  I've used one of the pre-coloured Darling Buds images and layered her onto a vellum oval cut with a Posydoodle Basics Oval die.  I've also cut a tag using the Posydoodles Basics Tag die - the sentiment comes with the Darling Buds download.


The background is a Cuttlebug embossing die and the ribbon is from my stash.  Good luck with the challenge!  I'd like to enter the following:

Arty Diva's:  Anything Goes
Lemon Shortbread:  Anything Goes
Crafty Cardmakers:  Embossing
Creative Sketchy Girls:  Girls Only

Friday, 14 February 2020

Polkadoodles Challenge - Sorry I'm Late

It's time for a new Polkadoodles challenge and the theme as always is

Anything Goes

The DT were challenged to make a Sorry I'm Late card so I've used Winston Bear - Etty Shy and coloured her with Promarkers.  I've kept the card really clean and simple and have added a vellum die cut using the Posydoodles Basics Circles die, layered on the Bubblicious die; plus the tag was handwritten and I used the Posydoodles Basics Tag die.  I've added a vellum butterfly die cut


I've added a few pink gems to the flowers and the butterfly for extra detail.  Good luck with the challenge!  I'd like to enter the following:

Brown Sugar:  Anything Goes
Crafty Catz:  Anything Goes with option of Critter
Paper Funday: Anything Goes
Word Art Wednesday:  Anything Goes

Thursday, 7 November 2019

Sparkles and Skates

I've made a cute pillow box out of a sheet of kraft card - and I used a fancy circle punch on each of the ends so that it can be opened easily (you just can't see it on the photos) but a good idea is to use the punch before gluing the sides together!


To cut the tag, I've used the largest die from Posydoodles Basics Tags die and I've used some of the very sparkly white glitter card that I've had in my stash for probably 10 years.


Next up, I cut two of the Ice Skates die from off-cuts of kraft card - I cut two for extra strength as its going to hang over the edge of the tag and I don't want it to bend or get damaged


From an off-cut of silver card, I've cut the skate blades and also the bow - I always keep all my off-cuts unless they are ridiculously tiny, because you never know when you'll need them!


When assembled, it will look something like this:


I added the tag to the box with some white organza ribbon I had in my stash and found a gem (stuck to the side of my die cutting machine, of all things!) and added that to the centre of the bow - plus it covered up the join rather nicely!


A great quick tag and gift box!

Wednesday, 16 October 2019

Quick Gift Box

I have a bit of a thing for making gift boxes - I make one for each of my team at Christmas and fill with goodies for them (I have quite a large team!) so always on the look-out for something quick and easy to make.  And then, I make extras for other work colleagues who help me out!  So yes, I need quite a few!

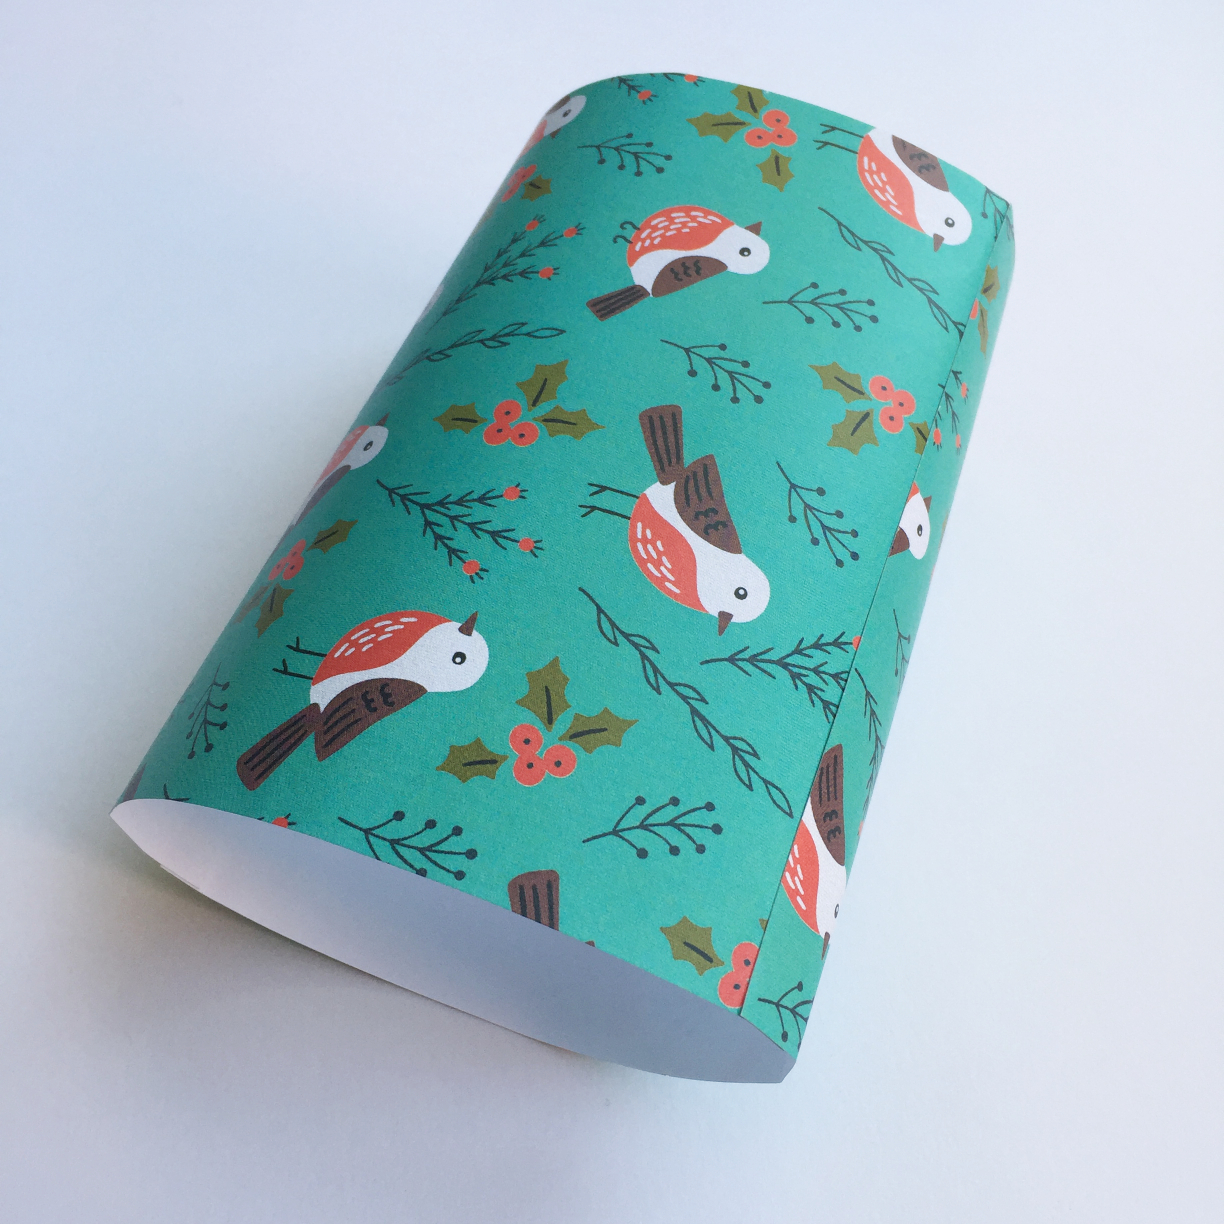
So I was having a play with some of the Ho Ho Ho 6x6 papers - I glued two together (be careful with patterns!) and then when that was dry, I glued the other two edges together to create a tube.


Glue one side closed as shown - I used clothes pegs to keep it all together!  They have a better 'reach' than bulldog clips and are kinder on the grip!


Whilst waiting for all this glue to dry, I cut some holly leaves using the Holly and Spruce die - I've coloured these leaves with Promarkers to match the leaves on the paper!  I've added them to a tag (Basic Tag dies) cut from a scrap of card and then used some Dew Drops for berries.


I've now held the opposite sides together to create a triangle and punched two holes (I actually used a hole punch as the holes were a perfect spacing) and threaded the red ribbon through with the tag.


In total, with drying time, this took about an hour, but I didn't just sit around waiting for the glue to dry - I was productive with my time!  I'd like to enter the following:

A Perfect Time To Craft:  Anything Goes
Crafty Hazlenut's Patterned Paper:  Anything Goes
Love To Craft:  Anything Goes
Not Just Cards:  Anything Goes

Friday, 11 October 2019

Polkadoodle Challenge - Autumn or Anything Goes

It's time for a new Polkadoodles challenge and the theme as always is

Anything Goes

The DT had a different challenge with the Autumn theme and to make a double sided swinging tag!  I've used the Foxy Fun die and to make the reverse, I just cut the paper from the reverse side so that I didn't get any lines from the die.  The papers are from the same bundle


I've used Posydoodles Basics Circles die to cut the aperture and papers are from The Great Outdoors A5 paper pack.  And the tag, which I've cut from acetate and chopped the bottom off (it was too long to swing!) is from the Posydoodles Basics Tag Die.  The garden twine and large snap are from my stash.


Good luck with the challenge!  I'd like to enter the following:

Cardz 4 Galz:  Shades of Brown
Creative Knockouts:  Fall
D;LART:  Fall
Sisterhood of Crafters:  Autumn
Die Cut Diva's:  Autumn

Friday, 27 September 2019

Polkadoodle Challenge - Christmas or Anything Goes

It's time for a new Polkadoodles challenge and the theme as always is

Anything Goes

The DT were asked to make something Christmas and here is my creation.  I've made a gift box using a sheet of linen effect white card from my stash and then made the big bow using papers from the Heartfelt 8x8 paper pack and then added a cute pre coloured penguin from Winnie White Christmas download.


I've used one of the Posydoodles Basic Tag to cut the tag on which the image is printed.  The wooden star and buttons are all from my stash along with the bakers twine.  Good luck with the challenge!  I'd like to enter the following:

Brown Sugar:  Anything Goes
Cardz 4 Galz:  Pretty Bows
CRAFT:  Animals
Die Cuttin' Diva's:  Tags
The Holly and The Ivy:  Anything Goes

Monday, 15 July 2019

Male Themed Gift Bag

I decided to make a male themed gift bag, basically because sometimes you just need to step away from the pinks and yellows!

I've used two sheets from the Heartfelt Christmas 8x8 paper pack and created a gift bag that would fit a cd or dvd.  I've punched holes in the top and threaded some garden twine through for the handles (I bought a rather large ball a while ago so have to use it up somehow!)

I then cut a tag using the Posydoodles Tags die from an off-cut of kraft card, again punched a hole in the top.


The sentiment has been cut using the Celebrate sentiment die - I coloured an off-cut of white card with Promarkers to match the greens on the bag.


To finish, I dotted a line around the edge of the tag with a black fineliner pen and added a half pearl.

I'd like to enter the following:

Crafting From The Heart:  Anything Goes
Use Your Stuff:  Masculine
Corrosive Challenge:  Anything Goes

Wednesday, 12 June 2019

Using Up Scraps

I admit, I am a bit of a hoarder and I don't like to throw off-cuts of paper or card away unless its tiny.  So I have a few folders that they all go in, with same download or cd clipped together for easy future reference.

I was making some Father's Day cards and came across these off-cuts from the Sticks and Bones download.  I used the Posydoodles Tags die and the Happy Birthday die as I wanted to keep it quite simple.  Plus I used a kraft card blank and a piece of vellum.


Because the scraps were not big enough to fill the card, I had to be creative and use blocks, cutting to size as I went.


I cut the sentiment twice for extra depth and layered up as shown.  I then added some twine to the top of the tag, some half pearls and doodled a running stitch around the panels for extra effect.


Great quick card!  I'd like to enter the following:

Die Cuttin' Diva's:  Masculine
Try It On Tuesday:  It's A Man's World
Unicorn Challenge:  For The Men / Boys
Crafty Cardmakers:  Masculine

Wednesday, 29 May 2019

Baby Shower Gift

I have a work colleague who will be going on maternity leave soon but before she does, we are holding a baby shower for her!  I've never been to one so don't quite know what to expect but didn't want to arrive empty handed so I have made her a little gift box which holds some treats for her!

I've made the box and added a gift tag cut using the Posydoodles Basics Tags - I've also cut the two other smaller tags too from the same set.


I've used the rather cute Beary Great Day clear stamp which to be quite honest, is totally perfect for a new baby card.  I've used Promarkers to colour plus glossy accents on the nose and eyes.


And to finish, for the stamped sentiment underneath the bear, I've used the Bee Nice clear stamp set as the Special Delivery sentiment was just perfect!


I've handwritten the other tag plus used ribbon and a half pearl from my stash!  I'd like to enter the following:

Creative Moments:  Anything Goes
Ellibelle's Corner:  Feminine and Add a Sentiment
The Crafty Addicts:  Anything Goes
Watercooler Wednesday:  Anything Goes

Friday, 24 May 2019

Polkadoodles Challenge - Anything Goes or a Gift for Dad

It's time for a new Polkadoodles challenge and the theme as always is

Anything Goes

The DT were challenged to make a gift for Dad.  I've made a gift card holder using a sheet of kraft card from my stash and I've added a die cut tag using the Posydoodles Basics Tag die and the fries are from Work and Play 12 and have been coloured with Promarkers.


The letter D is a die cut from my stash and I've added glossy accents to the top of it.  To finish I doodled a faux running stitch around the edge of the card and tag.  Good luck with the challenge!

I'd like to enter the following:

Crafts Galore Encore:  Anything Goes
Daisy Chain Challenges:  Anything Goes
Happy Little Stampers:  Anything Goes with Dies
CRAFT Challenge:  Father's Day / Male

Monday, 13 May 2019

Polkadoodles - Gift Bag Tutorial

I always need a gift bag (plus I over-indulge on sellotape if I wrap anything!) so I thought I'd show you how you can make one from two sheets of A4 paper - I've used the PosyDoodles Splash of Summer collection from Polkadoodles

Supplies
Two sheets of A4 thick paper from PosyDoodles Splash of Summer
PosyDoodles Basic Tag dies
Hole punch or eyelet setter
Ribbon
Glue
Ruler
Bone Folder
Pencil
Scissors
Double Sided tape or Sellotape

Step 1:  Measure and score your paper as shown starting from the top and working down - the extra bit on the left hand side is for gluing and the extra bit at the bottom is for strengthening the gift bag's bottom if you are adding something with weight.  Repeat this for the second sheet of paper exactly the same.


Step 2:  Score using a bone folder on the lines and fold as shown - I also folded everything except the top, side and bottom edges the opposite way too so that it provides a bit more manipulation when you're constructing the bag.


Step 3:  Glue the sheets together using the little flap on both - your bag should look a bit like the one below.


Step 4:  As you can see, I snipped a little part of each meeting corner away just so it wasn't too bulky when I constructed the bag.  Also, snip a small V across the each corner of the base as shown - you will have 4 V shaped cuts.  This helps when folding.


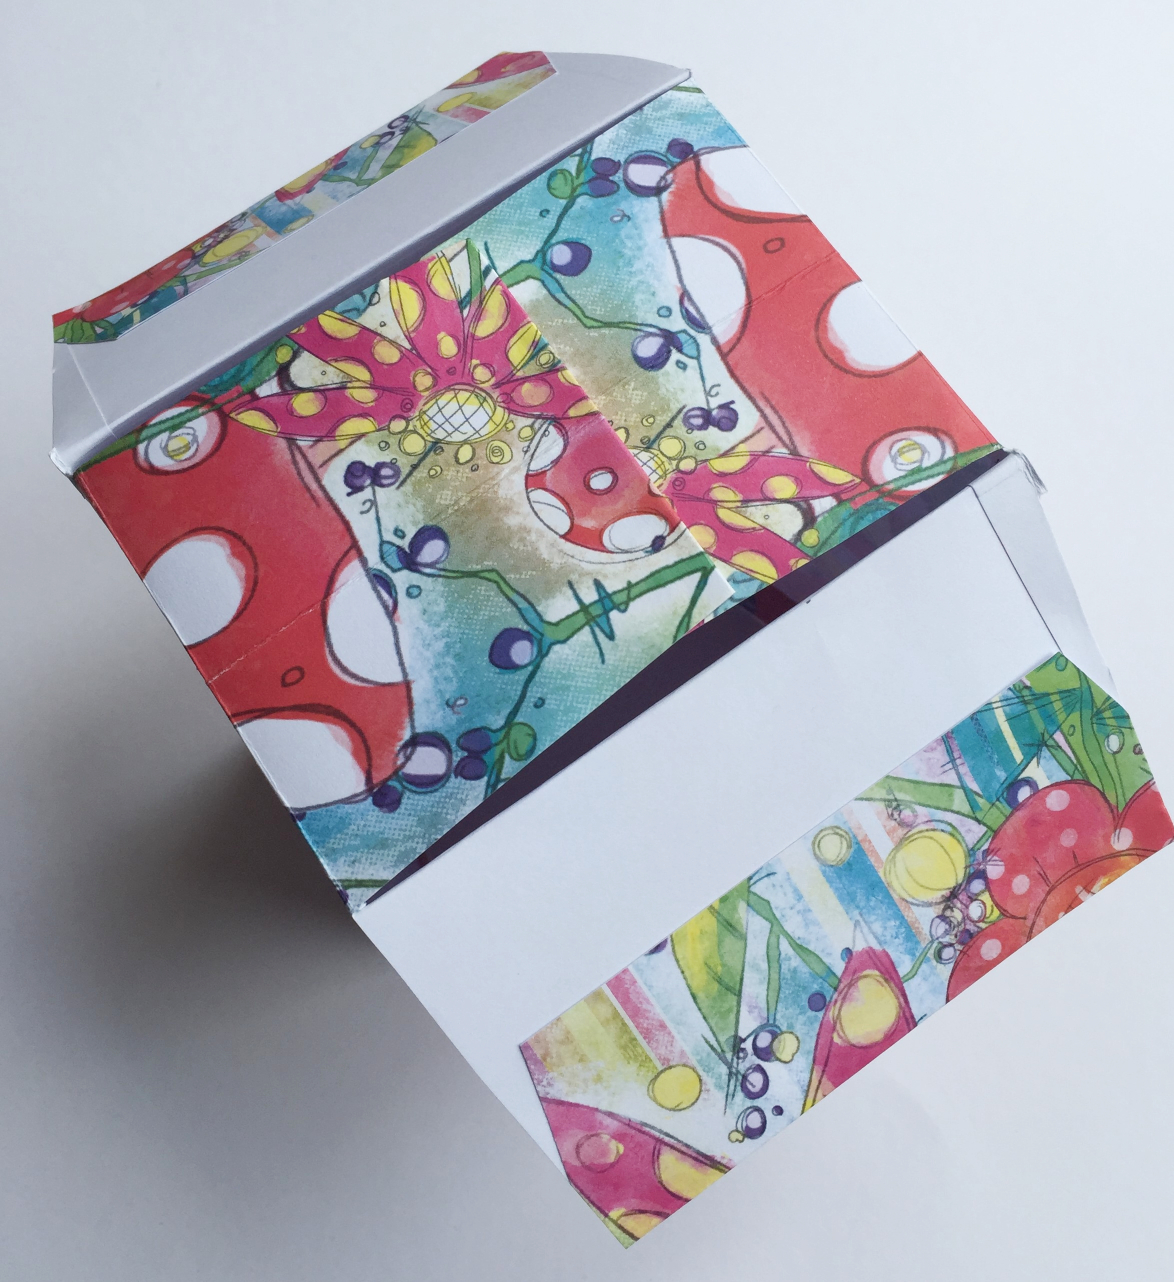
Step 5:  Glue the shorter sided flaps together in the centre for the base and once reasonably dry do the same with the wider sides.  By doing it in this order, you still have a neat base once finished.


Step 6:  Your base will look like the photo below.  Once all your glue has dried properly, you can then begin to shape the sides.  If you pinch the top of the bag and push the sides in, they will provide a gusset.


Step 7:  I next selected a topper sheet from the collection and cut one out using the tag dies.  The white bit at the bottom of the tag is where I'm going to write my sentiment.


Step 8:  I punched two holes each side with an eyelet setter and threaded my ribbon through and added the tag to one side.  I secured the ribbon with a small piece of double sided tape and then a strip of sellotape to make sure it was secure.