Supplies
Two sheets of A4 thick paper from PosyDoodles Splash of Summer
PosyDoodles Basic Tag dies
Hole punch or eyelet setter
Ribbon
Glue
Ruler
Bone Folder
Pencil
Scissors
Double Sided tape or Sellotape
Step 1: Measure and score your paper as shown starting from the top and working down - the extra bit on the left hand side is for gluing and the extra bit at the bottom is for strengthening the gift bag's bottom if you are adding something with weight. Repeat this for the second sheet of paper exactly the same.

Step 2: Score using a bone folder on the lines and fold as shown - I also folded everything except the top, side and bottom edges the opposite way too so that it provides a bit more manipulation when you're constructing the bag.

Step 3: Glue the sheets together using the little flap on both - your bag should look a bit like the one below.

Step 4: As you can see, I snipped a little part of each meeting corner away just so it wasn't too bulky when I constructed the bag. Also, snip a small V across the each corner of the base as shown - you will have 4 V shaped cuts. This helps when folding.

Step 5: Glue the shorter sided flaps together in the centre for the base and once reasonably dry do the same with the wider sides. By doing it in this order, you still have a neat base once finished.
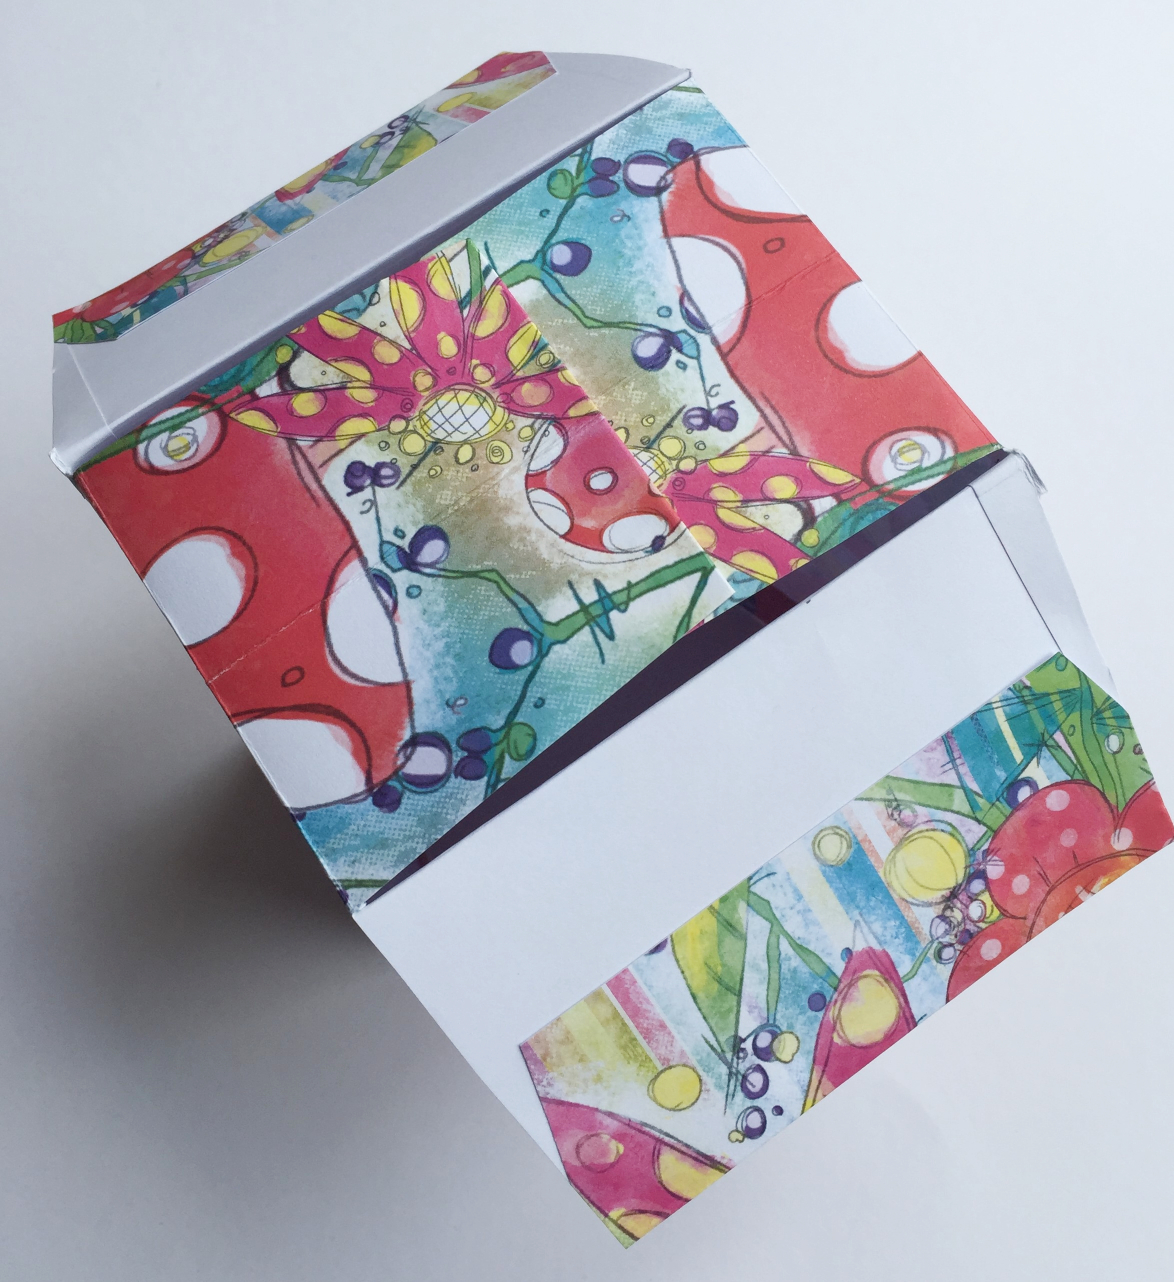
Step 6: Your base will look like the photo below. Once all your glue has dried properly, you can then begin to shape the sides. If you pinch the top of the bag and push the sides in, they will provide a gusset.

Step 7: I next selected a topper sheet from the collection and cut one out using the tag dies. The white bit at the bottom of the tag is where I'm going to write my sentiment.

Step 8: I punched two holes each side with an eyelet setter and threaded my ribbon through and added the tag to one side. I secured the ribbon with a small piece of double sided tape and then a strip of sellotape to make sure it was secure.

A wonderful project Ginny
ReplyDeleteMy Blog As I do Rodos