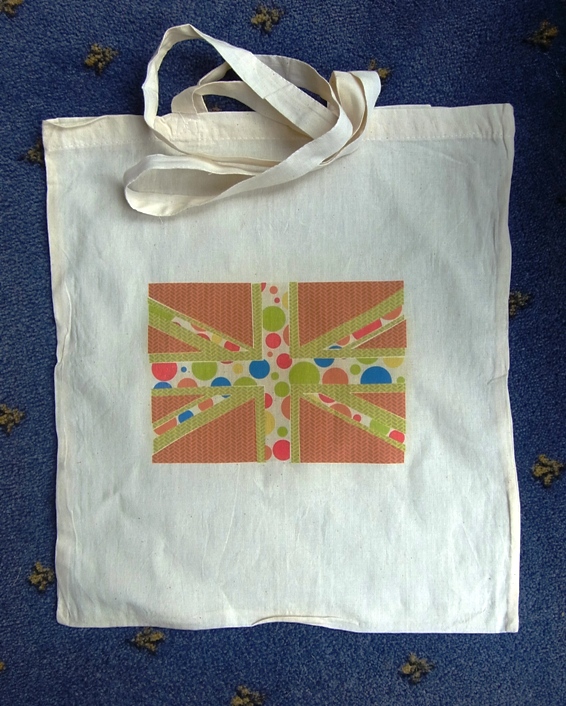
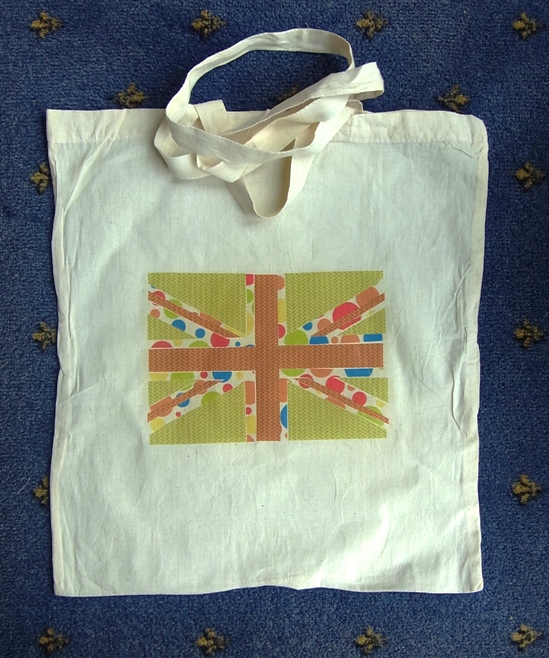
Here is the t-shirt transfer tutorial I promised! I did try and get it all ready before we went on holiday last weekend but despite spending over an hour trying to sort out the photos, Mr Blogger was just not playing and either kept loosing the photos or putting weird code in their place! Hopefully, this one will work!
The t-shirt transfer paper was generously sent to me by
Photo Paper Direct who asked me to test the product and blog about it! And because I enjoyed making the
first t-shirt I decided to turn the second t-shirt into a tutorial!
To begin, take a sheet of the t-shirt transfer paper. It comes in a pack of A4 and you can buy 20 sheets for around £8 (the budget pack is cheaper!) I used a kids plain white t-shirt that I pre-washed (bought 2 from Primark for less than £2). You will also need felt-tips or another colouring medium - do not use Promarkers as these take the surface off the paper. Copics are probably the same. Also, a sheet of greaseproof paper, a domestic iron, a surface that will withstand your iron on the hottest setting (do not use the ironing board!) and of course a digital image!
I used the sweet dino image from
Simple Doodles (I'd previously asked permission to use it), decided on the best size and within Word I flipped the image so that when it was ironed onto the t-shirt it would be the correct way round - very important if using wording!

When I came to print the image onto the transfer paper, I selected the correct setting, however I didn't use this for my first t-shirt - I simply printed it as normal and it worked fine!

Here is the dino waiting to be coloured!

These are the felt-tips I used to colour my image - bought from Tesco for around £2.50.

And here, I've started to colour the base colour of the dino. I selected a pale colour to begin with and then built up the depth afterwards. Take care not to 'scrub' at the image as the surface will disintegrate.

I didn't leave enough time for the different colours to dry, so I experienced some 'bleeding' with the red. But I quite like the effect!
Once the image has been coloured cut it out leaving a fine border around the image - if you leave a wide border it will be more noticable once the image has been ironed onto the t-shirt.

Place the image coloured side down onto the t-shirt where you want it to be. You may want to use a small peice of sellotape to keep it in place if its easier. Apologies for the photo being the wrong way!

Now set your iron to its hottest setting and once upto temperture iron the image onto the t-shirt by using small round motions ensuring the whole of the image is covered. Do this for around 2 minutes and the backing paper will turn brown.

Leave the image to cool completely - you have enough time for a cup of tea and a hob nob! Once completely cool, carefully peel the backing paper from the image. Take care to peel it away in one full peice otherwise you may damage the image underneath.

If you prefer your transfer to be shiny then you can finish at this point and simply leave the t-shirt for 24 hours before washing it inside out.

However, if you want the image to appear matt, then place the sheet of greaseproof paper over the image and iron it, again on the hottest setting for around 30 seconds. Whilst the paper is still hot, peel it away.

The image underneath is now matt finish.

Leave it all to cool and wash the t-shirt inside out 24 hours later. It can either be tumble dried or left to dry naturally.
And here you have the finished t-shirt modelled by Jacob! He was looking most pleased as I had just bribed him with ice cream and chocolate sauce - after the photo shoot of course!!


If you want to use a pre coloured digital image then the same steps will be followed just without the colouring. I am really impressed as to how easy the
t-shirt transfer paper was to use and I have a feeling that I will be buying a pack of the paper as I have more ideas on how to use it! If you want to use it on
canvas bags, then Photo Paper Direct also sell them!
From start to finish, the whole process took around 2 and a half hours although I staggered it over 2 days. Please remember to ask permission from the digital artist before their image is used.
Thank you to
Photo Paper Direct for sending me the paper to use and for asking me to try one of their products (I feel like I really have made it in the blogging and crafting world!) and also to
Trish for allowing me to use her very cute dino!